NY Concealed Carry: Sensitive Locations and When You May Lawfully Use Your Gun
Gregory Khitrov • September 21, 2025

NY Concealed Carry: Sensitive Locations and When You May Lawfully Use Your Gun

New York’s gun laws have undergone major changes in recent years, particularly after the 2022 Concealed Carry Improvement Act (CCIA). For those carrying a firearm, it is critical to understand two things:

  1. Where you can and cannot legally carry (the “sensitive locations” rules).
  2. When you may legally use a firearm to defend yourself (the justification statutes in Penal Law Article 35).

This blog breaks down the current state of the law, what it means for concealed carriers, and practical steps to stay compliant.

Sensitive Locations: Where Carrying Is Prohibited

Under Penal Law §265.01-e, it is a crime to knowingly possess a firearm, rifle, or shotgun in a sensitive location. The law defines these locations through an extensive list, including but not limited to:

  • Government buildings and courthouses
  • Schools, day-care facilities, and libraries
  • Public parks, playgrounds, and zoos
  • Houses of worship
  • Public transportation, subways, buses, and transit hubs
  • Health-care facilities, shelters, and soup kitchens
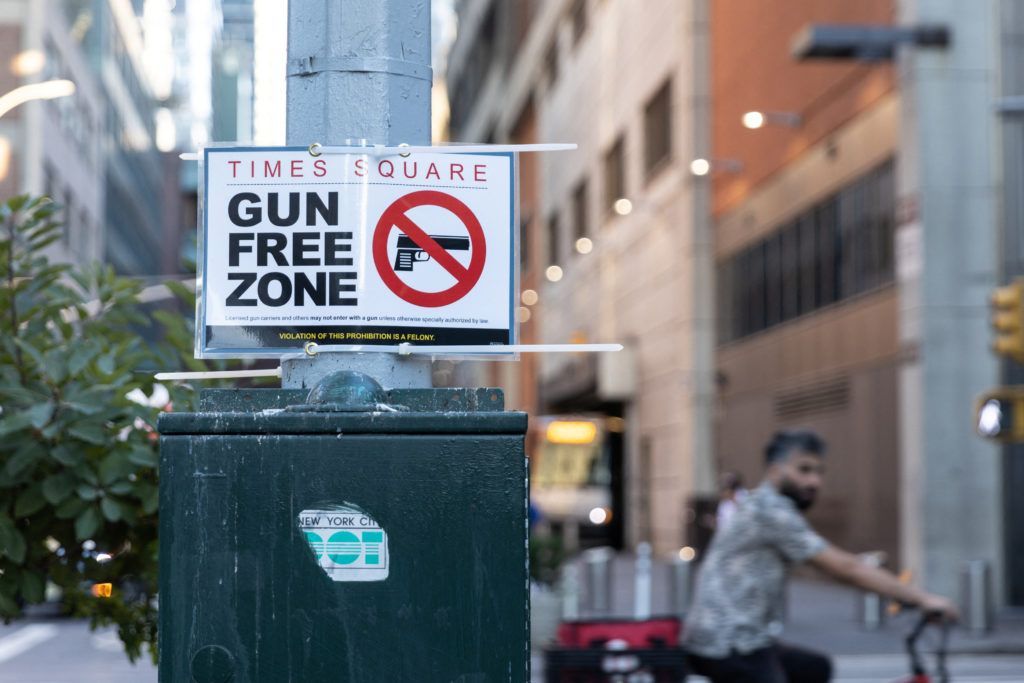
  • Times Square and other designated tourist-heavy areas
  • Polling places and election-related sites

Carrying in any of these locations—even with a permit—can expose you to felony charges. Signs may reinforce these rules, but the statute also holds you accountable if you “reasonably should know” that the location is prohibited.

Licensing Restrictions Still Apply

Under Penal Law §400.00, licensing officers may impose specific restrictions on your permit. Violating those restrictions can have administrative and criminal consequences.

Ongoing Litigation

Many of the sensitive-location rules have been challenged in federal court. While some provisions remain under review, most of the restrictions are still enforceable today. Courts have largely allowed New York to maintain its framework while cases work through the system.

When Can You Use Your Gun in Self-Defense? (Penal Law Article 35)

Carrying legally is only one part of the equation—using your firearm in defense has its own strict standards. Article 35 of the Penal Law governs justification and use of force.

Non-Deadly Force

You may use physical (non-deadly) force when you reasonably believe it is necessary to defend yourself or another person against the use or imminent use of unlawful physical force. (Penal Law §35.15(1))

Deadly Force

Deadly physical force is far more restricted. You may only use it when you reasonably believe that:

  • Someone is using or about to use deadly physical force against you, and
  • You cannot retreat with complete safety.

There are exceptions:

  • No duty to retreat in your dwelling, provided you are not the initial aggressor.
  • Deadly force may also be justified to prevent certain violent felonies such as kidnapping, robbery, rape, or burglary. (Penal Law §35.15(2))

Defense of Premises

Under §35.20, limited use of deadly force may also be justified to prevent violent entry into your dwelling or certain forcible felonies.

Important Cautions

  • Possession vs. Use: Even if a defensive shooting might be justified under Article 35, carrying in a sensitive location is a separate crime. You could face prosecution simply for being unlawfully in possession before any use occurs.
  • License Restrictions Matter: Always check the conditions on your permit. Some are tailored to specific counties or licensing officers.
  • The Law is Still Evolving: With active litigation, the rules may continue to shift. Always consult updated state guidance.

Practical Takeaways for Responsible Carriers

  1. Study the List: Know the sensitive locations under §265.01-e. Avoid carrying there unless a statutory exception clearly applies.
  2. Check Your Permit: Review restrictions set by your licensing officer under §400.00.
  3. Retreat If Possible: Outside your home, the law requires you to avoid deadly force if you can safely retreat.
  4. Be Prepared if You Use Force: Call 911 immediately, preserve evidence, and seek legal counsel before making detailed statements.
  5. Train Regularly: Beyond marksmanship, train in de-escalation, decision-making, and understanding the law.


Final Word

New York’s concealed-carry laws are strict and complex. Between sensitive-location restrictions and Article 35’s narrow self-defense rules, lawful carriers must remain vigilant. Remember: what may feel “reasonable” in the moment will be judged by investigators, prosecutors, and possibly a jury after the fact.

Stay informed, train responsibly, and when in doubt—err on the side of caution.


At Vintage Arms Inc we cover all of the above and more during the NYS required 18hr CCIA Class

By Gregory Khitrov September 21, 2025
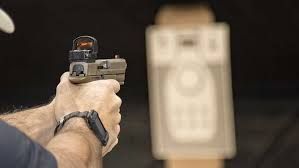
ProLevel Guide to Trigger Control — Finger Placement, What Goes Wrong, and How to Fix It Trigger control is one of the single biggest determinants of accuracy and consistency. Small changes in where your finger contacts the trigger produce surprisingly large changes in where the gun shoots. This post focuses tightly on finger placement — how to place the pad of your finger on the trigger, what happens when it’s too deep or too shallow , and practical drills to fix it. Short takeaway: place the pad of the index finger (the distal pad — not the joint) squarely on the face of the trigger, push straight to the rear with steady pressure. Anything else → torque, flinch, and wandering shots. 1) The ideal contact point — what “correct” looks like Use the pad (distal pad) of your index finger — the soft, fleshy area between the fingertip and the first crease. The pad should contact the center of the trigger face (or slightly higher depending on trigger geometry), so the force goes straight to the rear. Your finger should be relaxed but committed ; the movement should be a controlled straight push, not a pull or a hook. The rest of your hand/grip should remain stable and not try to “help” the trigger press. Why the pad? The pad gives a flat, repeatable surface that transmits straight-back pressure. Joints are pivot points — if you use them, you introduce angular motion and inconsistent leverage. 2) What happens when your finger is too deep (too far toward the first joint) Description: the fingertip is tucked so the trigger contacts the finger at or past the first joint (proximal interphalangeal joint), or the finger is curled so the trigger rides into the fleshy base. Consequences: Rotational torque — the trigger is pushed at an angle, rotating the gun in the shooter's hand (usually toward the support side). Shots will consistently group off-center. Inconsistent leverage — deeper placement often changes the effective mechanical leverage from shot to shot. Increased tendency to squeeze off-center — finger will tend to pull sideways as the larger joint area moves. Hidden flinch — the extra bulk in the finger can make the trigger feel further away, encouraging anticipation and a jerky “lurch” for fast shots. Symptoms you’ll observe: Vertical or horizontal flyers that line up with the direction of the torque. Shots that move unpredictably when you try to speed up. The muzzle seems to “twist” during trigger press. 3) What happens when your finger is too shallow (only the fingertip touching) Description: only the very tip (beyond the distal pad) contacts the trigger, or the finger touches with the nail or edge of the pad. Consequences: Too little surface area / poor leverage — the fingertip has limited surface and the pressure tends to be applied with less control and more wrist motion. Tendency to jab or snap — small muscles at the fingertip produce abrupt, jerky pressure rather than a smooth press. Nail interference — if the nail contacts the trigger, it can cause the finger to slip or produce inconsistent pull. Less sight control during press — because the fingertip is weaker and less stable, your sights often move off target during the press. Symptoms you’ll observe: Frequent jerky shots or vertical stringing. Inability to press smoothly on single-shot slow-fire. Poor recoil recovery (because press was uneven going into recoil). 4) Finger placement nuances by gun type Semi-automatic pistols: pad high and square on the trigger face. If your trigger is curved, place the pad where force is transmitted straight back. Try to avoid letting the knuckle or first joint contact the frame in a way that changes grip geometry. Revolvers: same rule — pad of the finger. Revolver triggers are longer and more curved, but using the pad still gives the best control. Long triggers / long reach guns: if you cannot reach the trigger without moving to a joint, consider adjusting grip, shortening the reach (bring the gun closer), or a professionally fitted trigger shoe—don’t sacrifice pad contact. 5) How to check your placement (quick checks) Dry check: point the gun in a safe direction, take your grip and press the trigger slowly. Watch the sight picture. If the front sight dips or moves sideways at the start of the press, your placement is off. Nail check: if you feel the nail press, reposition — you want pad-to-trigger contact. Paper test (slow fire): at close range (3–5 yards) fire slow, deliberate single shots. If your groups pull off in a consistent direction, interpret that direction relative to how your finger contacts the trigger (too deep usually pulls in one direction, too shallow another). 6) Drills to correct and reinforce ideal placement All drills should be done safely: unloaded gun for dry-fire, use snap caps for live-action practice when indicated, and always treat the gun as loaded. Dry-fire sight-maintenance press Setup: Unloaded, safe direction, target at 3–5 yards. Task: Acquire sights, place finger on trigger pad, press straight back for 2–3 seconds until the trigger breaks, maintain sight alignment through the break. Goal: Smooth, straight trigger press with zero sight disturbance. Wall drill Setup: Gun (unloaded) pointed at a blank wall at arm’s length. Task: Slowly press the trigger while keeping the muzzle absolutely still relative to a mark on the wall. Goal: If the muzzle moves, adjust finger placement until the muzzle stays true. Ball-and-dot slow-fire Setup: Live-fire at 5–7 yards on a small dot. Start slow. Task: Press the trigger deliberately and allow full sight picture; focus on pad placement and straight-back motion. Goal: Tight, centered groups. Speed up only after consistency. Reset repetitions Press to break, let trigger reset only partially, then press again — focus on maintaining the same pad contact during the reset and follow-through. This builds repeatability under recoil. Mirror or video check Use a mirror or camera during dry-fire to inspect exactly where the trigger contacts the finger. Small adjustments are easy to spot visually. 7) Small gear and physical tips Nail length: keep index fingernails trimmed. Long nails interfere with pad contact and can change leverage. Trigger shoe / flat triggers: if your trigger geometry pushes your finger to the side, a trigger shoe (wider/smaller face) can help you get a consistent pad contact. Trigger reach: if you cannot get your pad on the trigger without slamming your hand forward, adjust grip or consider a different grip size/backstrap. Reach should be natural — don’t contort. Gloves: test your technique with the gloves you actually use; gloves change feel and placement. 8) Common myths and clarifications Myth: “You must put the first joint on the trigger.” — No. Using the joint introduces pivot motion. The pad is repeatable and biomechanically superior. Myth: “The fingertip is best for fine control.” — No. The fingertip is weaker and tends to jab; the pad offers a more repeatable, smooth press. Reality: Some elite shooters may deliberately adjust placement for very specific feel with certain triggers — but for 99% of shooters and training, the pad in the center is the correct baseline. 9) Troubleshooting: if adjustments don’t help Re-check your grip — a bad grip can mask trigger faults. Watch for anticipation/flinch — if you can’t press slowly without the gun jerking, add dry-fire repetitions and use a clicker or snap caps. Get an instructor’s eye — a short session with a qualified instructor will identify subtle issues faster than self-diagnosis. 10) Practice plan (30 days) — simple and effective Days 1–10: Daily 10–15 minutes dry-fire — slow press, wall drill, mirror check. Days 11–20: Add live-fire twice a week — 50 rounds focusing on single-shot slow-fire at 5–7 yards. Days 21–30: Introduce reset repetitions and controlled pairs; evaluate groups and make small placement tweaks. Keep nail length trimmed; take video once a week. Quick checklist (carry on your phone) Pad of index finger — yes. Center of trigger face — yes. Nail trimmed — yes. Smooth straight press — yes. Dry-fire daily, live-fire twice/week — yes. Instructor check — scheduled? Final note on safety and consistency Trigger control is a habit built with thousands of repetitions. Prioritize safety first: always practice with unloaded guns during dry-fire drills, and use live-fire only in a proper range environment. Small, consistent daily practice on finger placement (the distal pad, centered) will dramatically improve accuracy and reduce flinch or torque-related misses.
By Gregory Khitrov August 11, 2025
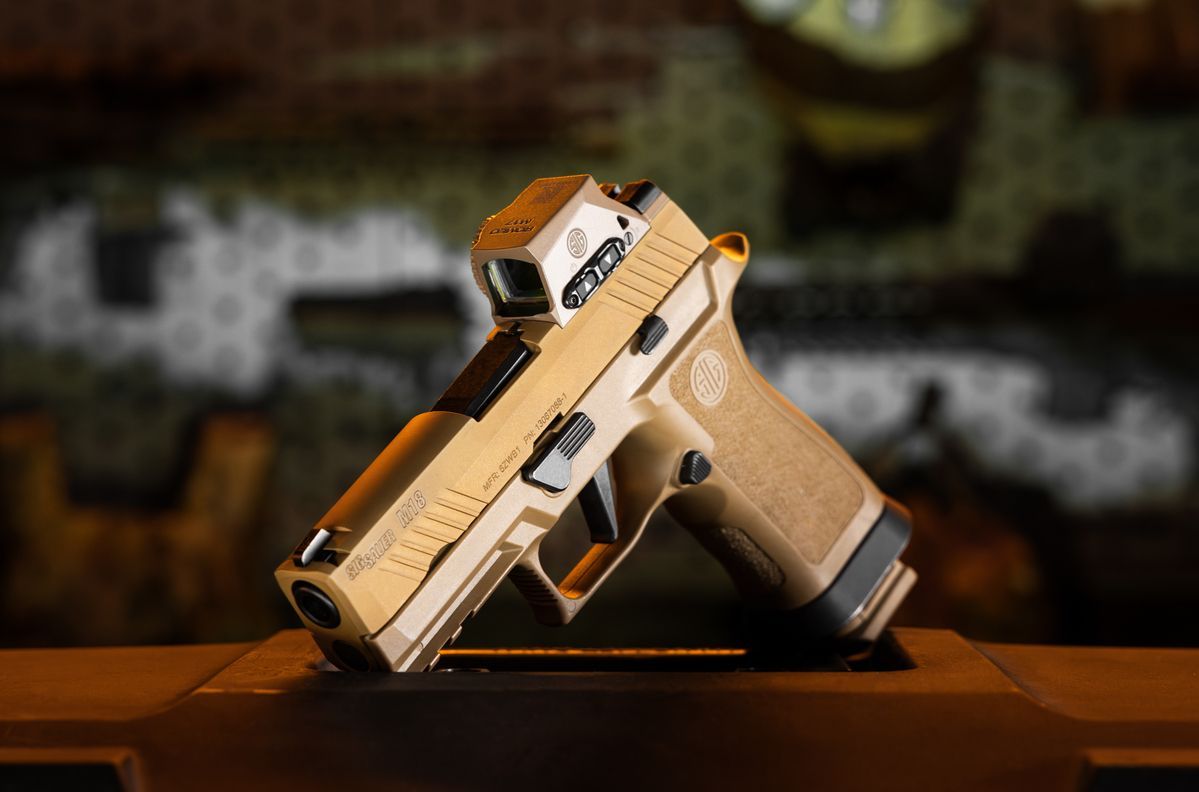
In the firearms world, few models have been as talked about—or as misunderstood—recently as the Sig Sauer P320. Over the past few months, headlines and social media chatter have reignited claims that the P320 “fires on its own.” As a firearms instructor, dealer, and someone who has tested this gun extensively, I think it’s time we separate fact from fiction. A Proven Firearm With a Solid Safety Record The P320 has been adopted by the U.S. Army, countless law enforcement agencies, and civilian shooters across the country for one simple reason—it’s one of the safest, most reliable handguns available today. Yes, there was a drop-safety concern identified in models manufactured before August 2017. Sig Sauer took that seriously, issued a voluntary upgrade, and resolved the problem. Since then, millions of upgraded P320s have been in service without systemic safety failures. In fact, the firearm meets and exceeds all U.S. and international safety standards. For years after the 2017 fix, the conversation was quiet—no widespread issues, no major incidents—until suddenly, we’re back to hearing “P320s are going off on their own.” Coincidence? Hardly. The Coffee Table Case—and the Truth Behind It One of the most cited recent stories involves an Airman who tragically died after, it was claimed, his P320 discharged while being placed on a coffee table. This story was used as “proof” that the gun was unsafe. This week, the truth came out—the shooter wasn’t the P320. It was a person. Authorities arrested an individual for the Airman’s death, confirming what many of us suspected from the start: guns don’t magically go off. They require a trigger press. Why the Blame Game Targets the Gun In my experience, 99% of so-called “accidental” discharges are actually negligent discharges—human error. It’s easier to blame the gun than to admit a mistake. That’s not unique to the P320; it’s true for any firearm. Our Own Testing Proves the Point At Vintage Arms Inc., we put the P320 through its paces—drop tests, impact tests, you name it. We even posted our results to YouTube. One criticism we received was, “Well, you didn’t have your finger on the trigger when you tested it.” Really? The idea is that a gun will only “go off” if you pull the trigger. But, to entertain the critics, we did just that—pulled the trigger to the wall under test conditions—and once again, nothing happened unless we intentionally completed the trigger press. The P320 performed exactly as a safe, modern handgun should. Link to the video 1 Link to the video 2 Final Thoughts The Sig Sauer P320 isn’t just safe—it’s battle-proven, trusted by professionals, and designed to perform under extreme conditions. The recent wave of “it went off by itself” stories isn’t proof of a flaw—it’s proof that rumors spread faster than facts. At the end of the day, firearm safety always comes down to one thing: the person handling the gun. Follow the four basic safety rules, keep your finger off the trigger until ready to shoot, and your P320 will serve you faithfully for years to come.
By Gregory Khitrov July 14, 2025
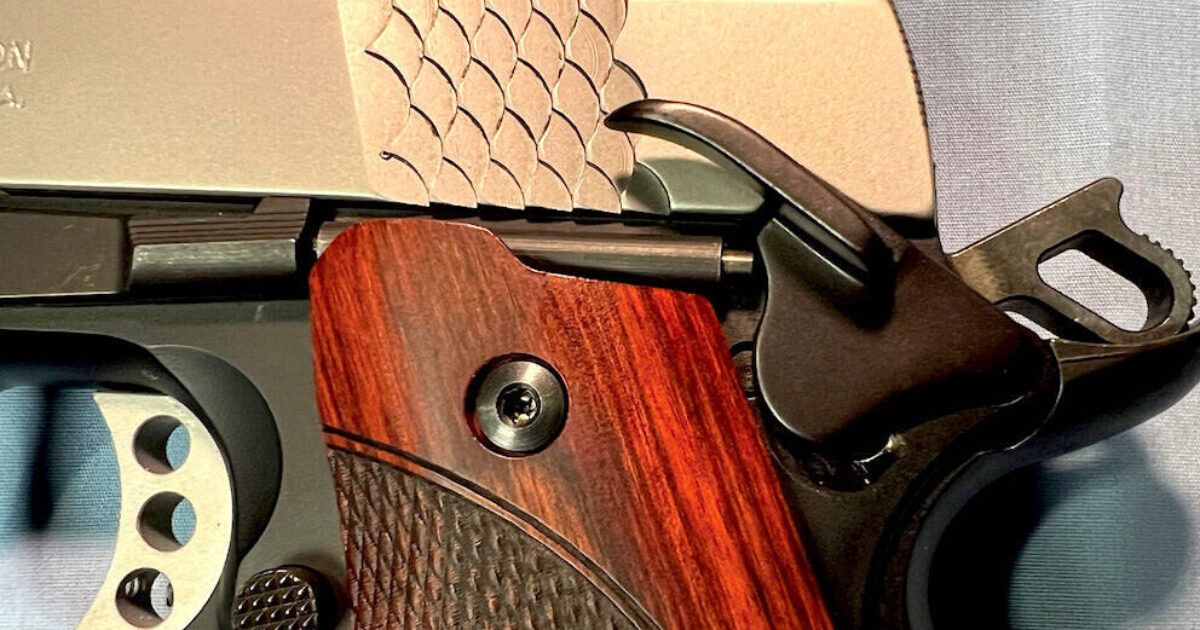
When discussing firearm safety, few topics stir as much debate as the presence—or absence—of an external manual safety. Some see it as a crucial layer of protection, while others view it as an unnecessary complication. But before diving into the value of a manual safety, it's critical to acknowledge one truth that transcends all arguments: no mechanical device can replace responsible firearm handling. In this blog, we’ll explore what an external manual safety is, how it fits into a broader safety system, and why fundamental gun safety rules must always come first—regardless of the equipment you're using. What Is an External Manual Safety? An external manual safety is a mechanical switch, lever, or button on a firearm that physically blocks the trigger or firing mechanism, preventing the weapon from discharging. Unlike passive safeties—which engage automatically—manual safeties require the user to deliberately activate or deactivate them. Common examples include thumb safeties on handguns or cross‑bolt safeties on shotguns and rifles. Many modern firearms, particularly those used for concealed carry or law enforcement, forego external safeties in favor of simplicity and speed. But others, especially those designed for novice shooters or home defense, incorporate manual safeties as an added precaution. The Primary Safeties: Your Mind, Your Discipline While external safeties can serve as a helpful feature, they are not the first line of defense. The most critical safety measures are behavioral. The three cardinal rules of firearm safety, universally taught by instructors and professionals, are: Always keep the gun pointed in a safe direction. This rule mitigates risk even if a negligent discharge occurs. A “safe direction” means a direction in which an unintentional fire would not cause injury or significant damage. Always keep your finger off the trigger until you are ready to shoot. Most negligent discharges happen because someone touches the trigger before they intended to. By keeping your finger outside the trigger guard until you're on target, you eliminate the possibility of firing prematurely. Always keep the gun unloaded until ready to use. Especially when storing, transporting, or handling the firearm outside of immediate use, ensuring it’s unloaded helps prevent accidents and unintentional misuse. These rules rely not on mechanical parts but on the conscious decisions of the person holding the gun. No safety switch can compensate for carelessness. The Purpose—and Limitations—of an External Manual Safety With the above principles in place, where does the manual safety fit in? Think of it as a redundant layer—a backup, not a substitute. In high‑stress situations, people can make mistakes. A manual safety can help prevent an accidental discharge caused by sudden movement, a clothing snag, or a poorly gripped draw. For newer shooters or those who store firearms in mixed‑use households, a manual safety can add an extra moment of pause—giving the handler time to remember the rules and re‑center their awareness before firing. Furthermore, some firearm designs (such as single‑action pistols) almost require a manual safety due to their light, short trigger pulls. In these cases, the safety is essential, not optional. However, many experienced gun owners and professionals deliberately choose firearms without external manual safeties. Their reasoning is clear: in a self-defense situation, the added step of disengaging a safety under pressure can cost critical time—and possibly lives. For them, a manual safety is viewed as one more mechanical component that can potentially fail or be forgotten at the worst possible moment. This school of thought emphasizes readiness and simplicity. If the shooter follows the core safety rules consistently—keeping the gun pointed in a safe direction, finger off the trigger, and the firearm secured until needed—they may feel that an external safety is unnecessary and even counterproductive in life-or-death encounters. Misconceptions and Over‑Reliance One danger of relying too heavily on an external safety is a false sense of security. Just because the “switch is on” doesn't mean the gun is safe. Safeties can fail. They can be accidentally disengaged. And, crucially, they only block the trigger—they don’t stop negligent handling. On the other hand, a safety can also become a liability. Under stress, some users may forget the safety is engaged and fumble to disengage it—delaying a response when every second matters. This is why training with your firearm—understanding how it functions, how it feels, and how to operate it quickly—is essential whether your firearm has a manual safety or not. Conclusion: The Manual Safety Is a Tool, Not a Guarantee In the hierarchy of firearm safety, external manual safeties play a supporting role—not a leading one. The true safety is between the ears of the person carrying the gun. No mechanical device can replace good habits, situational awareness, and respect for the weapon’s power. For some, an external manual safety is a welcome addition; for others, it’s a potential hindrance. There’s no one-size-fits-all answer. But for everyone—regardless of platform or experience—the fundamentals remain the same: Keep it pointed in a safe direction. Keep your finger off the trigger until ready to fire. Keep the gun unloaded until you’re ready to use it. When these rules are followed, every other safety feature—manual or not—becomes just another layer of protection in a system built on responsibility.
By Gregory Khitrov April 17, 2025
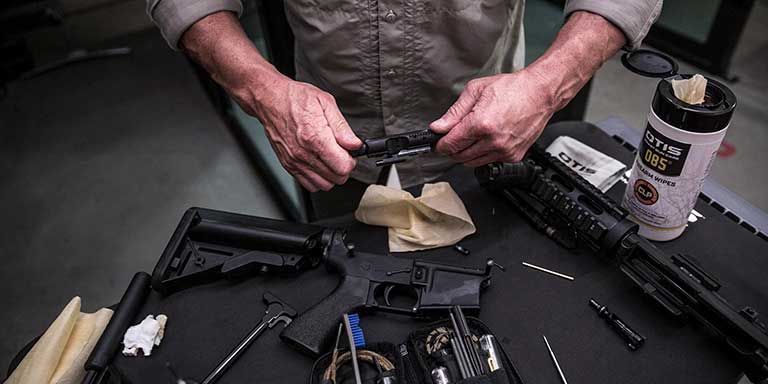
When it comes to responsible gun ownership, regular maintenance isn’t optional—it’s essential. At Vintage Arms, we take firearm care seriously, and we strongly recommend cleaning your handgun after every range visit. Not only does this help preserve your investment, but it also ensures that your firearm operates safely and reliably when you need it most. Why Cleaning Matters Every time you fire your handgun, residue from gunpowder, primer, and metal fouling builds up inside the barrel and action. Over time, this accumulation can lead to: Reduced accuracy : Fouling in the barrel can alter bullet trajectory. Feeding and ejection issues: Dirty components may stick or jam. Corrosion: Residue can trap moisture, leading to rust—even in stainless steel models. Accelerated wear: Grit and debris can grind against moving parts, causing premature wear. Cleaning your gun regularly helps avoid these problems, extending the life of your firearm and maintaining its reliability. How Often Should You Clean? While some shooters clean their guns “when they feel gritty” or “after a few hundred rounds,” we believe in a more proactive approach. A t Vintage Arms, we recommend cleaning your handgun after every range visit—no exceptions. This might seem excessive to some, but here’s why it makes sense: Peace of mind: You’ll always know your firearm is in peak condition. Early problem detection: Regular cleaning allows you to spot signs of wear or malfunction before they become serious issues. Better performance: A clean gun simply performs better—smoother cycling, cleaner breaks, and more consistent results. Longer life span: Think of cleaning as insurance for your firearm’s longevity. Make It a Habit Cleaning your gun doesn’t have to be a chore. With the right tools and a simple routine, it can take as little as 10–15 minutes. Here’s a basic post-range checklist: Unload and clear the firearm—always double-check. Field strip your handgun according to the manufacturer’s instructions. Clean the barrel with a bore brush and solvent. Wipe down all components to remove fouling and debris. Lightly lubricate moving parts to prevent wear and rust. Reassemble and function check the firearm. If you’re new to gun cleaning or want to refresh your technique, we’re always happy to help. Stop by Vintage Arms and ask our staff for tips, cleaning kits, or a quick walkthrough. Taking care of your gun is part of taking pride in your firearm. Final Thoughts Just like any finely tuned machine, your handgun requires regular care to perform at its best. Cleaning after every range session may take a little extra time, but it’s time well spent. You’ll protect your firearm, improve your performance, and most importantly—stay safe. Vintage Arms—where tradition meets responsibility.
By Gregory Khitrov April 1, 2025
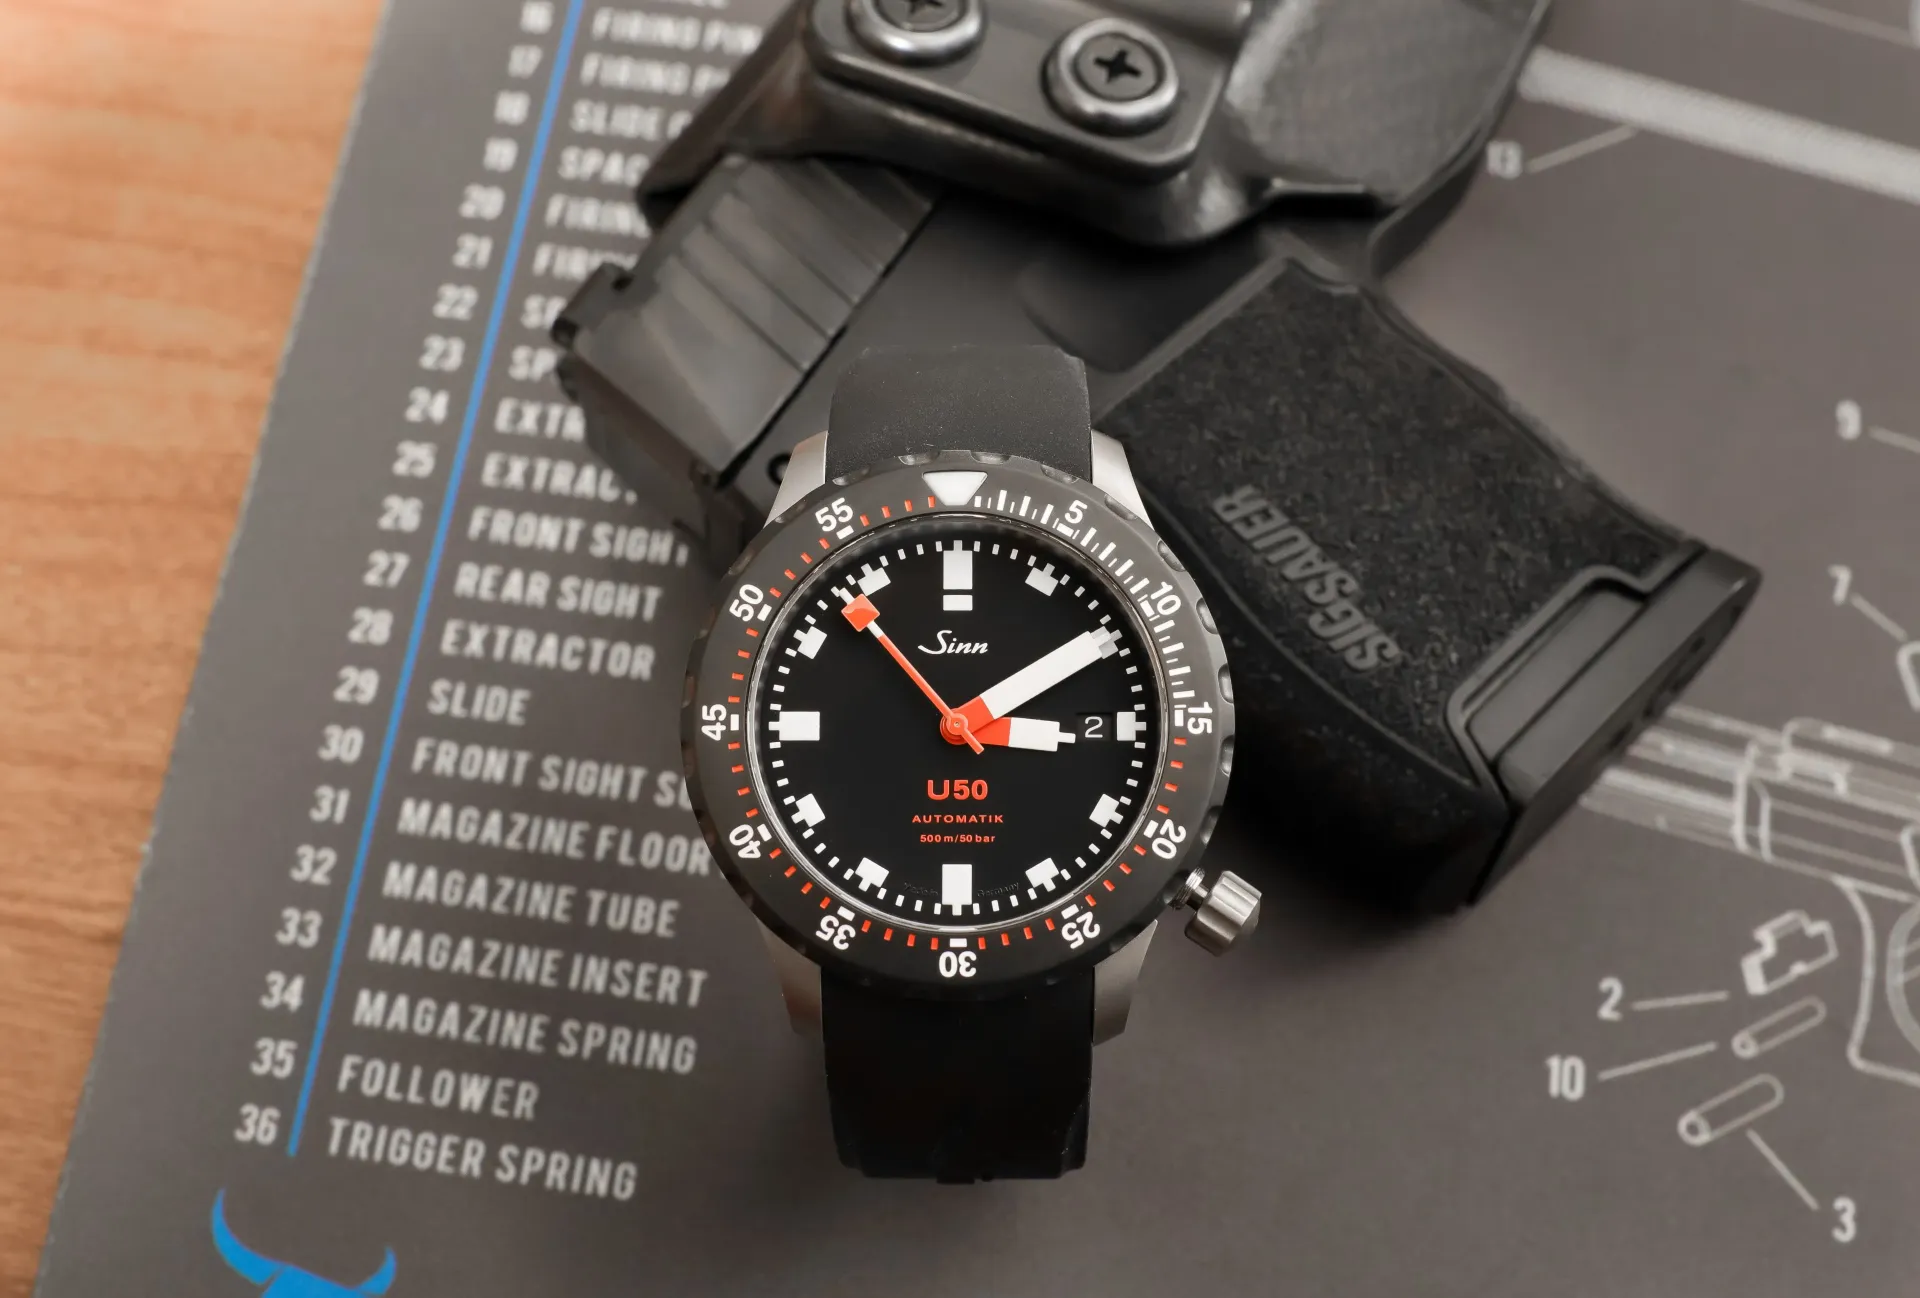
For gun owners and firearms enthusiasts, every piece of gear serves a purpose. Whether it’s a concealed carry pistol, a well-maintained rifle, or a trusted pocket knife, reliability is the key to preparedness. One often-overlooked but crucial piece of everyday carry (EDC) gear is a high-quality watch. A durable, dependable timepiece isn’t just about telling time—it’s about precision, resilience, and having a tactical edge in any situation. Why an EDC Watch Matters for Firearm Enthusiasts 1. Tactical Precision & Timekeeping Gun owners, especially those who train regularly or participate in competitions, know that timing is everything. Whether it’s timing drills at the range, tracking elapsed time in the field, or coordinating with a hunting party, having an accurate and legible watch can make a difference. In self-defense or security situations, even a few seconds can be critical. A well-designed watch ensures you stay on top of time-sensitive decisions without relying on a smartphone that could be dead, lost, or too slow to access in a pinch. 2. Rugged Durability in Any Environment A good EDC watch must handle the same tough conditions as your firearm. Whether you’re at the range, in the wilderness, or navigating urban environments, you need a watch that won’t fail under pressure. Features to look for in a durable watch: • Shock Resistance – To withstand recoil, impacts, and sudden movements. • Water Resistance – Essential for outdoor enthusiasts and those who carry in all weather conditions. • Scratch-Resistant Glass – Ensures clear visibility, even after rough use. • Strong Build Materials – Stainless steel, titanium, or reinforced polymer for long-term reliability. 3. Night-Time Visibility & Low-Light Operation Firearm owners know the importance of being able to operate in low-light environments. A watch with tritium illumination, luminescent hands, or an LED backlight can provide easy time reading in the dark without compromising your position by using a flashlight or phone. 4. Stealth and Practicality Gun enthusiasts appreciate gear that is both functional and discreet. A good EDC watch should blend into your daily routine while still providing tactical advantages. Blacked-out designs, anti-reflective coatings, and low-profile builds help maintain a stealthy appearance. 5. Backup Timekeeping in Emergencies Many people rely on their smartphones for everything, including timekeeping. But in a crisis—whether it’s a power outage, emergency response, or self-defense scenario—a smartphone can fail. A high-quality, battery-powered or self-winding (automatic) watch ensures you always have an independent, reliable way to track time. When choosing an EDC watch, look for: ✔ Analog or Digital with Fast Readability – Clear dials with military or 24-hour time formats. ✔ Rugged Construction – Built to endure tough conditions and shock from recoil. ✔ Water Resistance – At least 100M for daily use, 200M for more extreme environments. ✔ Tritium or Lume Hands – For night visibility without relying on an external light source. ✔ Tactical Design – Non-reflective, lightweight, and practical for carry. ✔ Reliable Movement – Quartz for accuracy, automatic for longevity. Top EDC Watch Brands for Gun Enthusiasts Many watch brands cater to tactical, military, and survival needs. Some of the best options include: • G-SHOCK (Casio) – Ultra-durable, shockproof, and packed with features. • Luminox – Tritium illumination and military-grade toughness. • Marathon – Used by military and law enforcement, built for harsh conditions. • Garmin Tactical Watches – GPS-enabled for those who need advanced tracking. • Seiko Prospex or Seiko 5 Sports – Affordable yet reliable automatic watches. Vintage Arms Inc. – Your Trusted Source for Tactical Watches If you’re looking for a reliable tactical or military-style watch, Vintage Arms Inc. has you covered. As an official dealer of Casio G-SHOCK, along with many other top-tier tactical watch brands, they offer rugged timepieces built for performance. Whether you need a tough digital G-SHOCK or a sleek automatic for everyday carry, Vintage Arms Inc. ensures you get the best gear for your lifestyle. Final Thoughts For gun owners and enthusiasts, an EDC watch isn’t just an accessory—it’s a tool. A well-chosen watch ensures you stay prepared, whether at the range, in the field, or in everyday life. Like a reliable firearm, a dependable timepiece should be built for performance, durability, and trust in any situation. When selecting an EDC watch, consider what fits your lifestyle and needs. With the right choice, your watch won’t just keep time—it’ll keep you ahead of it.
By Gregory Khitrov March 5, 2025
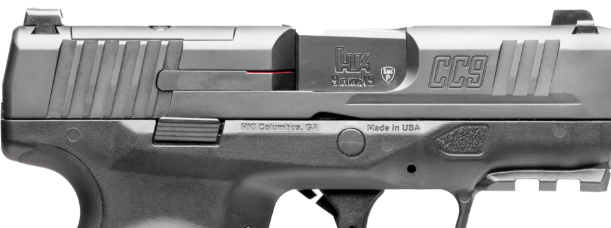
Heckler & Koch (H&K), a brand synonymous with precision engineering and reliability, has unveiled its latest innovation: the CC9 concealed carry pistol. This micro-compact, striker-fired 9mm handgun marks H&K’s entry into the burgeoning market of everyday carry firearms, and it has been eagerly anticipated by firearm enthusiasts and professionals alike. Key Features of the H&K CC9 • Compact Design: The CC9 is H&K’s smallest double-stack pistol to date, measuring just over 6 inches in length and less than 1 inch in width. This slim profile ensures optimal concealability without compromising on performance. • Capacity Options: Chambered in 9mm, the CC9 offers flexibility with 10-round and 12-round magazine options, catering to varying concealment and capacity preferences. • Optics-Ready: Anticipating modern shooter preferences, the CC9 comes optics-ready with an RMSc footprint, allowing for the seamless addition of micro red-dot sights. • Enhanced Shootability: Despite its compact size, the CC9 boasts features like interchangeable backstraps for a customizable grip and a length-of-pull comparable to full-size models, ensuring a comfortable shooting experience. • Durability: True to H&K’s reputation, the CC9 underwent rigorous testing, including exposure to extreme temperatures, dust, sand, and mud, to ensure reliability in diverse conditions. The Anticipation Behind the CC9 The excitement surrounding the CC9 stems from several factors: • H&K’s Legacy: Known for producing firearms like the VP9 and P30, H&K’s entry into the micro-compact concealed carry market has been highly anticipated. • Extended Development: The CC9’s development spanned over seven years, reflecting H&K’s commitment to perfection and building anticipation among enthusiasts. • Made in the USA: Designed in Germany but built entirely in the United States, the CC9 represents a fusion of German engineering and American craftsmanship. Conclusion The H&K CC9 emerges as a formidable contender in the concealed carry market, blending compact design with the reliability and precision H&K is renowned for. Its thoughtful features and rigorous testing make it a worthy choice for those seeking a dependable everyday carry firearm. To find a dealer near you who carries the brand new H&K CC9 click here
By Gregory Khitrov March 2, 2025
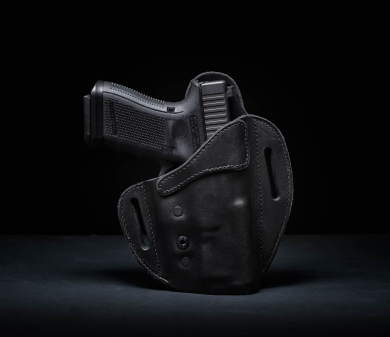
At Vintage Arms Inc, we’ve always been big fans of Urban Carry holsters—whether inside the waistband (IWB) or outside the waistband (OWB). These holsters offer an unbeatable combination of comfort, convenience, and versatility, making them an excellent choice for everyday carry. Why We Love Urban Carry Holsters Unmatched Comfort – Urban Carry holsters are designed with premium materials that contour to your body, allowing for extended wear without discomfort. Seamless Concealment – Whether you prefer IWB for deep concealment or OWB for quick access, these holsters make it easy to carry without printing. Quick, Secure Draw – The unique design ensures your firearm is safely secured yet easily accessible when needed. Come Try One for Yourself We believe the best way to find the perfect holster is to try it on your own gun. That’s why we invite you to visit Vintage Arms Inc and test out an Urban Carry holster in person. Feel the comfort, experience the security, and see how it fits with your firearm before making a decision. A Customer’s Story: From Selling to Carrying We recently had a customer walk in, frustrated and ready to sell his HK VP9SK. No matter what he tried, he couldn’t find a holster that was both comfortable and practical for concealed carry. Before letting him part with a firearm he loved, we fitted him with an Urban Carry IWB holster. The moment he put it on, everything changed. He was shocked at how well it distributed the weight, concealed effortlessly, and allowed a natural draw. Instead of selling his VP9SK, he walked out with a holster that finally made carrying it possible. Find Your Perfect Carry Setup at Vintage Arms Inc If you’ve struggled to find a comfortable, practical way to carry your firearm, Urban Carry holsters might be the answer. Visit us at Vintage Arms Inc, and let’s find the perfect fit for you. Whether it’s IWB or OWB, we’re confident you’ll walk away with a holster that makes carrying comfortable, secure, and effortless.